On the way out, I stopped near the top of Protest Hill and captured an HDR image of the university. As it turned out, I didn't get much in the under exposed range so this is what I came up with when I blended the pictures together.

Then on the way down the hill I took this picture of water sluicing through this water gate with my ND filter on my lens. It's kind of a fun little picture.

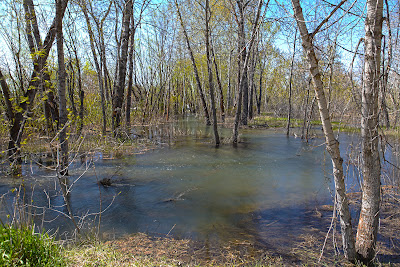
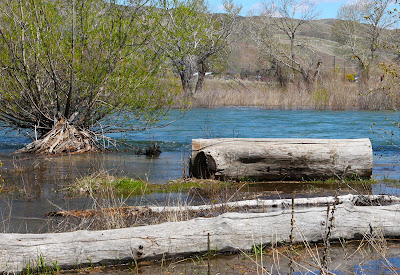
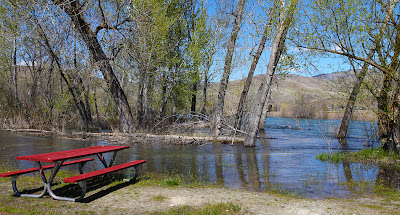
When I made it out to Barber Park, the first thing that caught my attention was that the Boise River was still running at its high water mark. I was fascinated by seeing the trees standing in water and how what used to be paths had now become streams.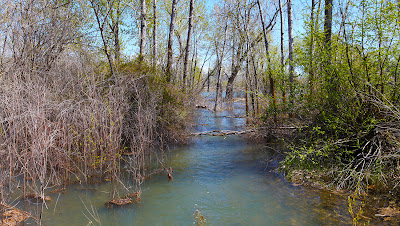
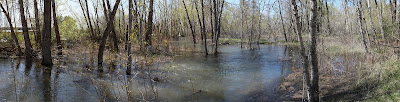
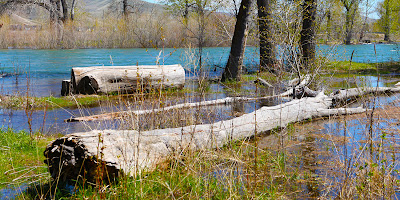
 In an effort to capture it all, I collected pictures to make this panorama image. I purposely used as many overlapping images as I could manage to make the panorama as level and detailed as possible. Be sure to click on the image to see it full sized.
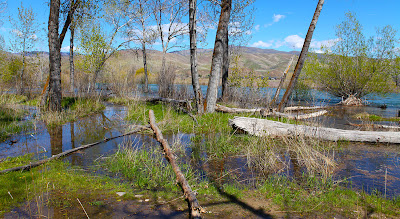
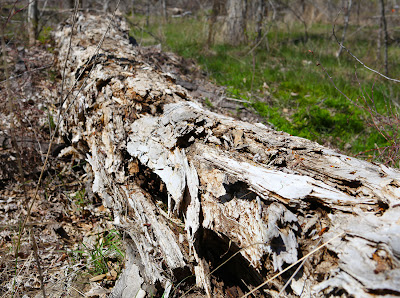
 I also became interested in all the logs that lay around the river side part of the park. At other times of the year, people sit on these logs.
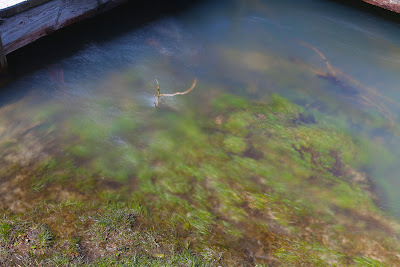
 I also tried out my ND filter when I saw the water flowing over some moss and rocks on the river banks, just to see what kind of effect I would get.
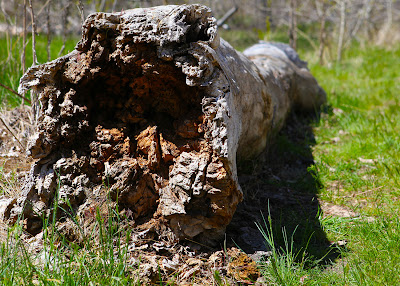
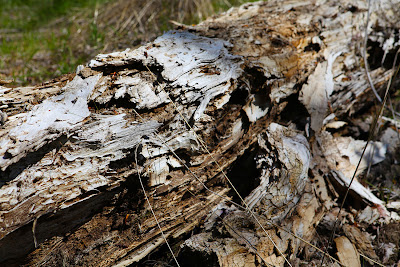
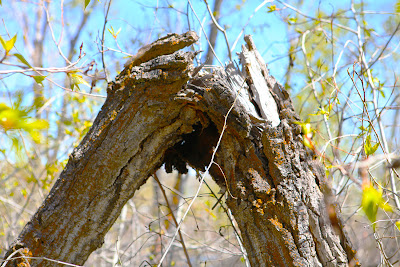
And some logs are beyond sitting on but they create interesting textures as they decay.
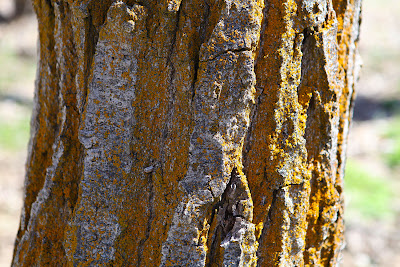
I've also taken a liking to lichen.
 The tubing ramp gives you some idea of just how high the river is above normal flow.

I compiled this image from a varied exposures to make an HDR image. But once I got it in the HDR editor, I didn't really like what I was getting. So on a whim I decided to see what I could get doing mostly the opposite of what I normally do to an HDR project. I de-saturated all the colors and dragged the highlights and the shadows down. I raised the detail index only slightly and left the exposure pretty much where it started at. The result is kind of interesting in its bleakness. Yet another and more complex way to create a black and white image in Photoshop.

 In an effort to capture it all, I collected pictures to make this panorama image. I purposely used as many overlapping images as I could manage to make the panorama as level and detailed as possible. Be sure to click on the image to see it full sized.
 I also became interested in all the logs that lay around the river side part of the park. At other times of the year, people sit on these logs.


 I also tried out my ND filter when I saw the water flowing over some moss and rocks on the river banks, just to see what kind of effect I would get.
And some logs are beyond sitting on but they create interesting textures as they decay.


I've also taken a liking to lichen.

 The tubing ramp gives you some idea of just how high the river is above normal flow.
I compiled this image from a varied exposures to make an HDR image. But once I got it in the HDR editor, I didn't really like what I was getting. So on a whim I decided to see what I could get doing mostly the opposite of what I normally do to an HDR project. I de-saturated all the colors and dragged the highlights and the shadows down. I raised the detail index only slightly and left the exposure pretty much where it started at. The result is kind of interesting in its bleakness. Yet another and more complex way to create a black and white image in Photoshop.

No comments:
Post a Comment